Starting Sewing Projects: A Practical Guide
The project starts before the first stitch, and that is good news
Starting sewing projects is less about inspiration and more about a short, slightly dull sequence: understand the object, measure, wash, press, lay out, cut, mark, then sew a test seam. People who skip that sequence do not save time. They spend it later, unpicking, or they live with a bag that twists because it was cut off grain. This is a practical guide to those first hours, not a list of things to make. If you still need a first object, choose a small, straight-seamed one and then come back to this order.
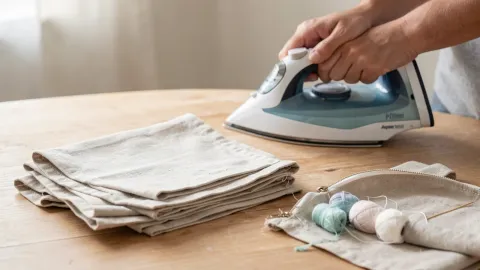
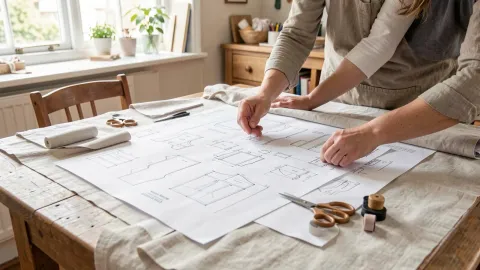
The cheap habit is to treat preparation as part of the work, not as unpaid overhead. Pre-washing uses water and an evening. It costs less than a garment that shrinks after you have already matched the notches. Layout uses the floor or a table and a tape measure. It costs less than buying a second length of fabric because the first was cut backwards.
Keep the iron in the story from the start. Keep scissors for cloth only. Unplug the iron when you leave the room. Those are ordinary workshop manners, and they belong here as much as any stitch length.
A step-by-step table for the first session and the second
| Stage | What you actually do | What you check, in numbers if you can | A false shortcut |
|---|---|---|---|
| Decide the object and the size | Read the whole pattern or plan once, including the finished measurements and the fabric list | Body or object measurements against the chart; ease; notions already in the house | Cutting a size you wear in high-street clothes without measuring |
| Check the fabric | Buy or retrieve enough, plus shrinkage margin if you still need to wash | Width of the cloth, length needed, and whether the print has a direction | Cutting into a fabric you will wash later “because it looks pre-shrunk” |
| Pre-wash and dry | Wash and dry as you will treat the finished thing, then press | The cloth is fully dry and flat, with the grain reasonably straight | A quick press of unwashed cloth, hoping for the best |
| Find the grain | Align a selvedge, and square a short end if needed | Grainlines on the pattern will be able to follow the weave | Roughly aiming the pattern “along the table” |
| Lay out | Place every piece, including facings and two of anything that says “cut 2,” before you cut any of them | The cutting layout, the nap or print direction, and the fact that you still have enough cloth | Cutting the large pieces first and hoping the pocket still fits in a scrap |
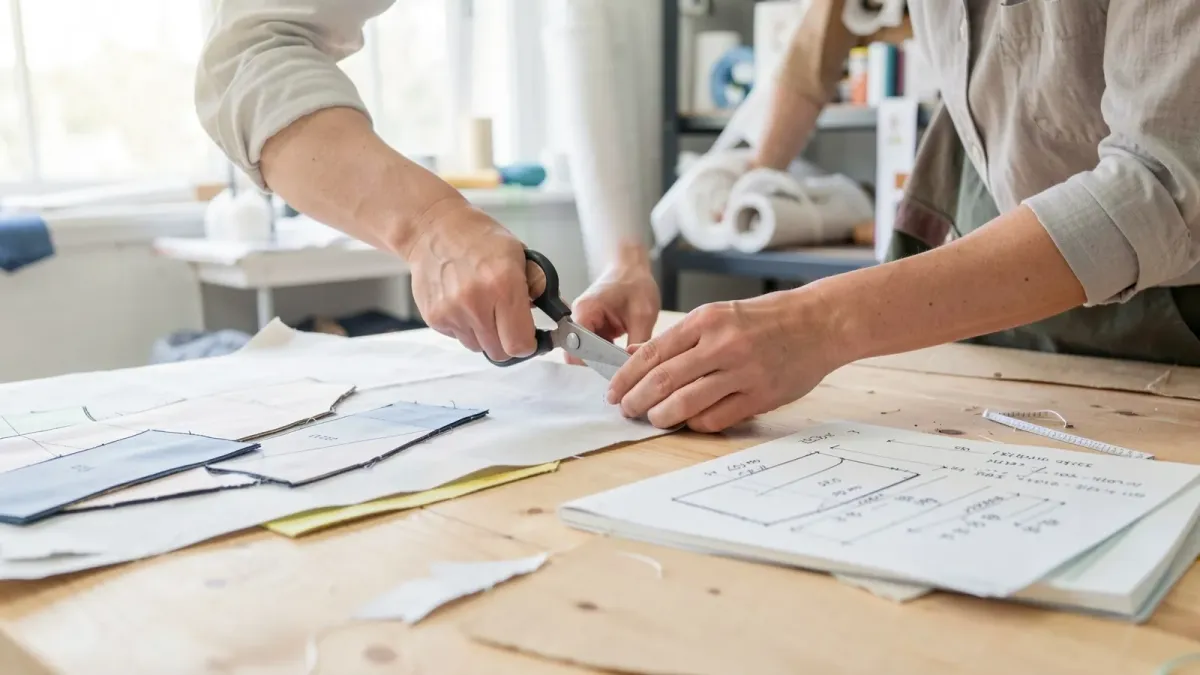
| Cut and mark | Cut with long, supported strokes; transfer notches and important marks; stay close to the line | Seam allowances are present, and marks are visible on the wrong side if that is your method | “I’ll remember which is the front” |
| Test a seam | Two scraps, same layers, same thread, same stitch length | The stitch looks even on both sides; the allowance is what you intended | Starting on the real pocket flap |
| Sew in a planned order | The pattern’s order, or a simple bag’s obvious order, one pressed seam at a time | Each seam is pressed before it is crossed by another | A long, unpressed run because you were “in the flow” |
If you only have half an hour, stop at a finished stage, not in the middle of a cut. Label the pieces in a bag. Starting sewing projects, in a busy week, is often the art of leaving the work in a state that tomorrow’s self can resume.
Measuring, grain, and the unromantic details
Write measurements down. If it is a garment, measure the body with a tape that actually rests where the pattern expects it to rest, and compare those numbers to the pattern’s chart, not to a size on a shop label. If it is a cushion, measure the pad, not the old cover, which may already have been stuffed into a compromise.
Grain matters even on a tote. A bag cut off grain will twist. A hem on the bias of a napkin will roll in a way you did not plan, unless you planned it. Take the extra minutes.
Notions should be on the table before you cut: thread, a zip if there really is a zip, interfacing already shrunk if the manufacturer wants that, buttons you have counted. A project started without its zip is a project that will wait at the back of a cupboard.
Seam allowance is a measurement, not a feeling. Use the guide on the machine, or a piece of tape as a temporary marker, or a seam gauge when you press. Consistency here is the difference between a bag that turns and a bag that does not.
A checklist you can pin above the machine
- I have read the whole plan once
- Measurements are written down and compared to the pattern or the object
- Fabric is washed, dried, and pressed as it will be used
- Every pattern piece is on the cloth, on grain, before I cut
- Marks and notches will be transferred
- A test seam on scraps has already been sewn
- I know where I will stop if I run out of time today
Questions that appear right after “shall we just start?”
Can I skip pre-washing if I am in a hurry?
You can, and you are then accepting shrinkage, dye bleed, and sometimes a change of hand after the first wash. For a test muslin you may not keep, that can be fine. For something you want to last, wash first.
What if my table is smaller than the fabric?
Use the floor, a clean cutting mat, or fold only as the layout tells you to fold. Do not let a too-small table decide the grain. Cut in stages if you must, but keep the unused cloth from hanging and stretching off an edge while you cut.
How long should I expect the start of a project to take?
Longer than the sewing, sometimes. Layout and cutting a simple tote can eat an evening; the seams may come together more quickly. Budget a first session for prep, a second for sewing, and you will be less tempted to hurry the cutting.
Do I need to finish every raw edge before I start assembling?
On many beginner woven projects, a simple finish, a zigzag, or an enclosed seam can be done as you go, or in a pass after the main seams, depending on the plan. What you should not do is ignore edges that will fray in the wash, or spend a whole weekend finishing edges on a project you have not yet tested for size. Follow the pattern’s method, or choose one simple finish and be consistent.